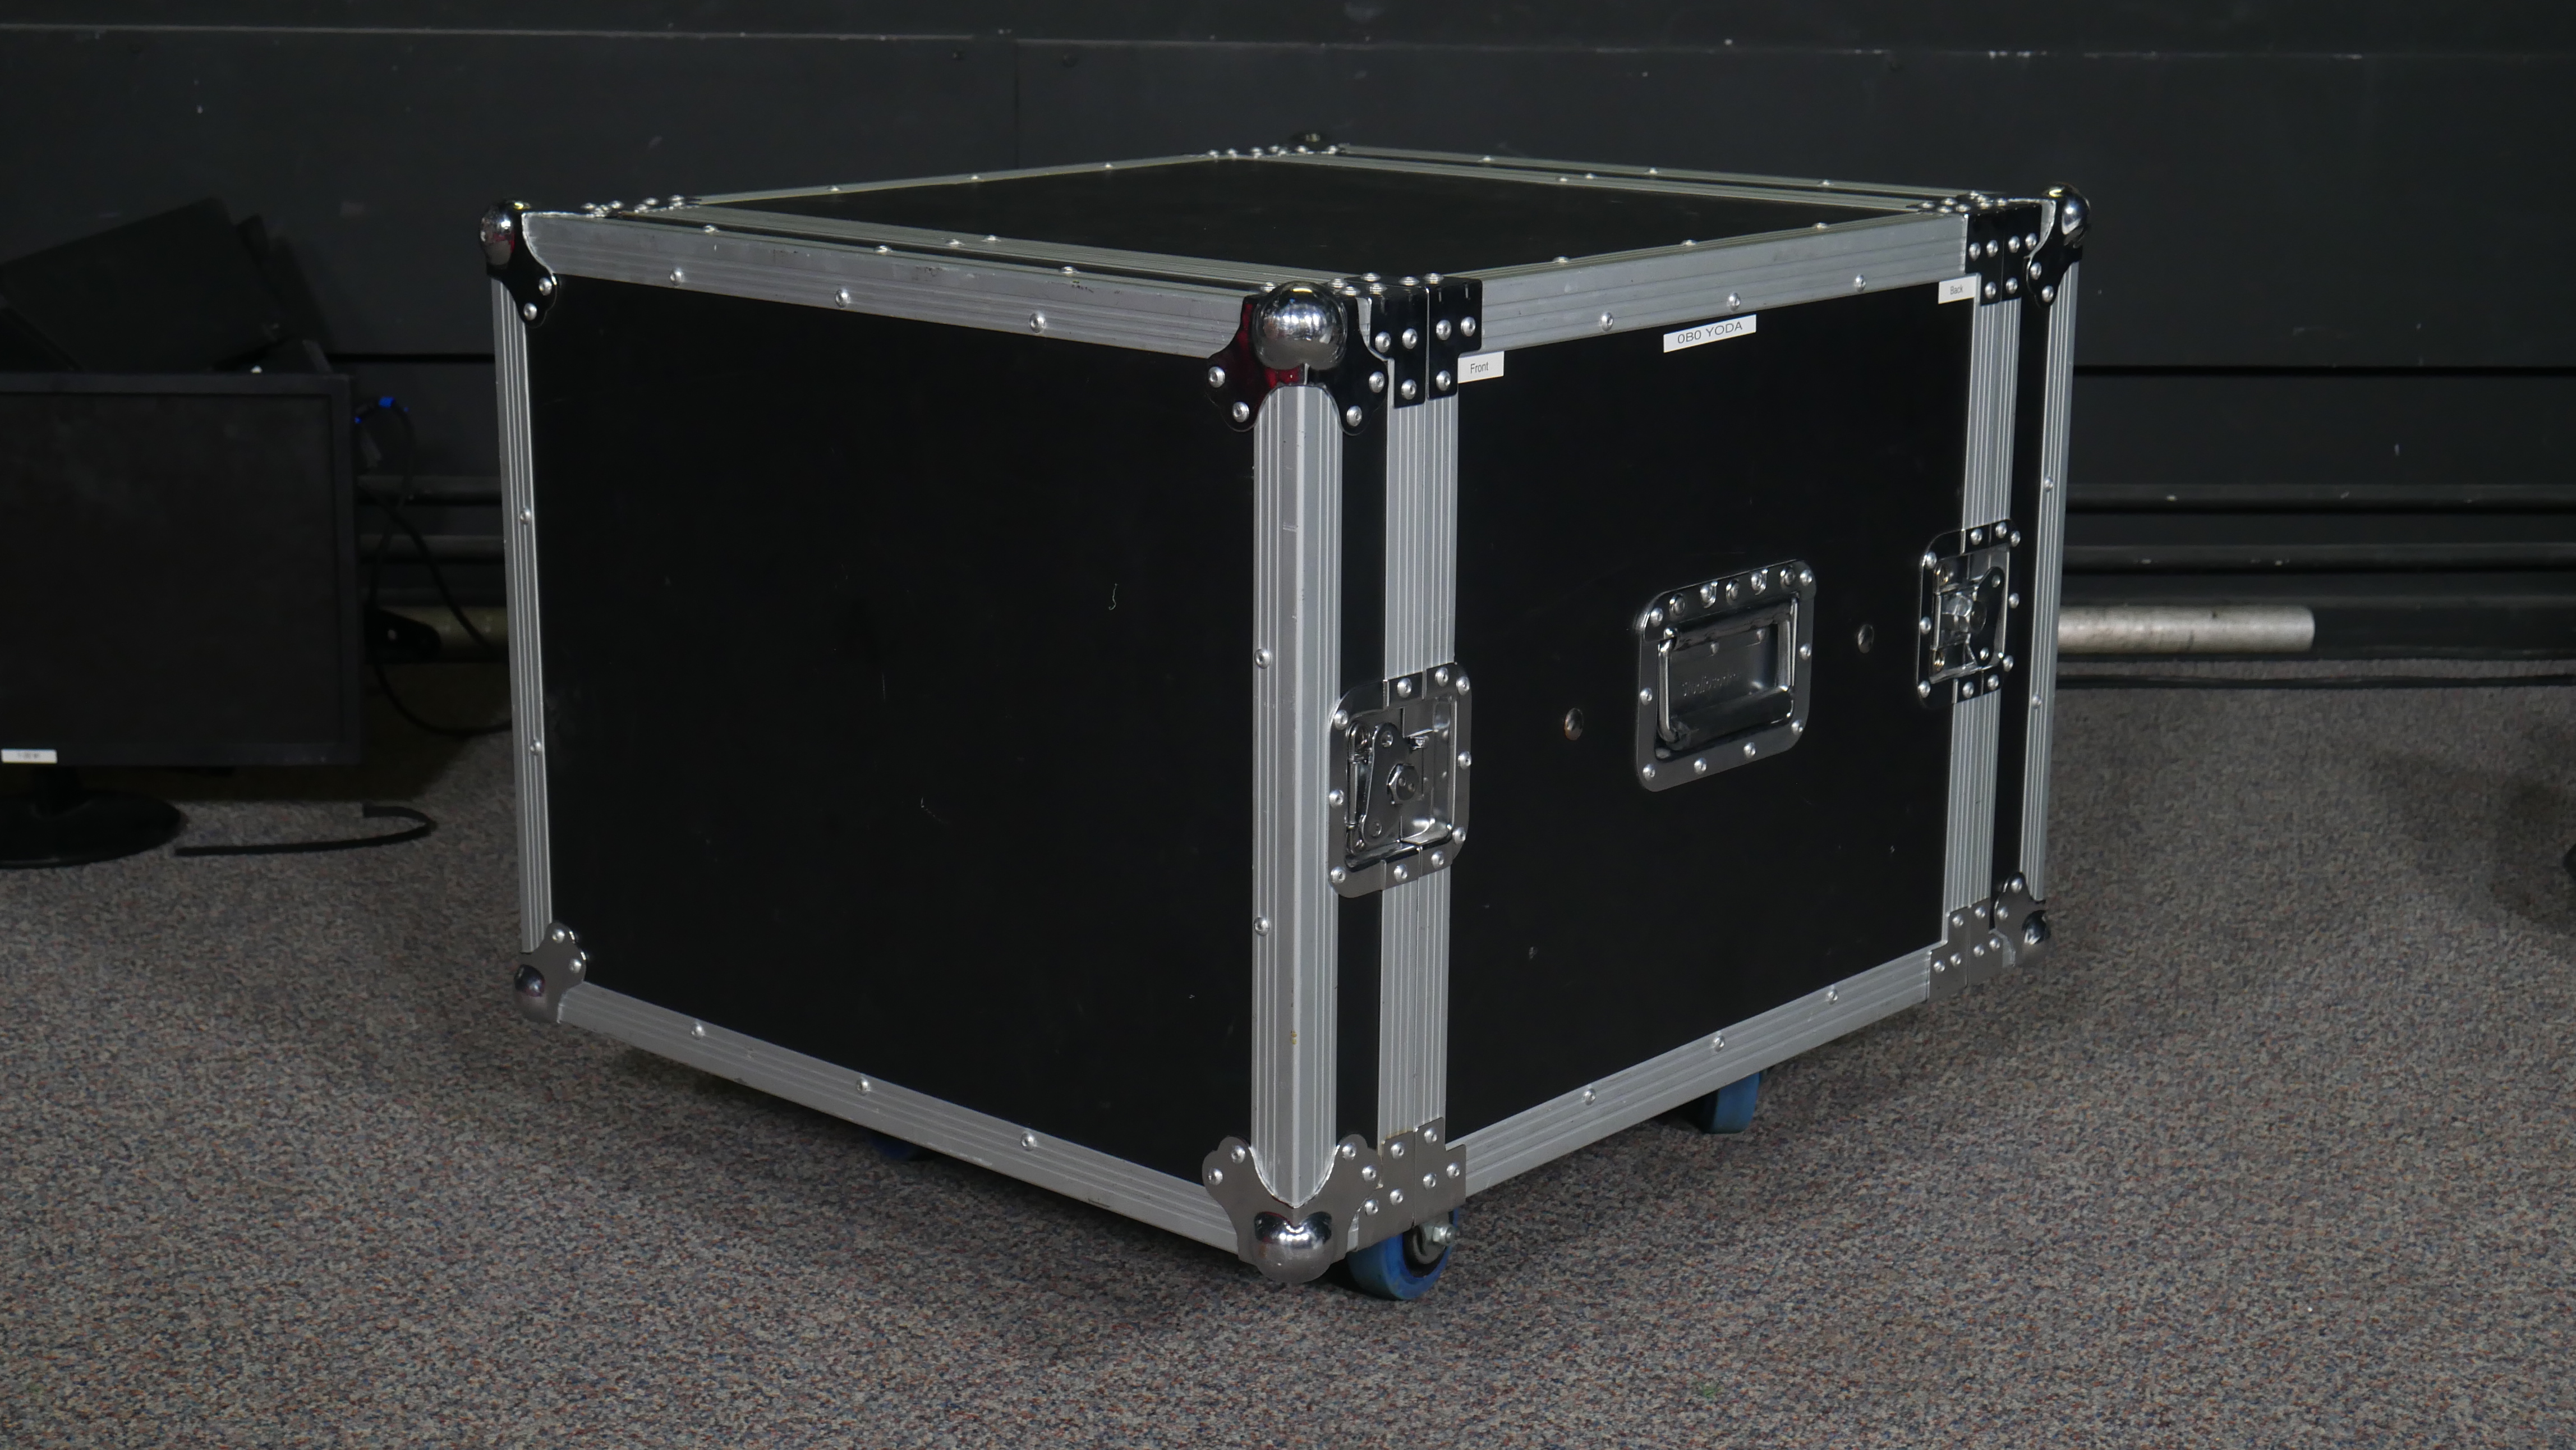
York OB0 Cold Start Guide
Codename: Yoda

- Take the front and back sides off by unscrewing the latches and pulling them free.
- Locate an ethernet port at your location. Look for sockets on walls or look for WiFi access points on the wall as there may be a socket it connects to.
- Connect one end of the long ethernet cable (stored inside the OB kit) to the socket you've found and connect the other end to the blue ethernet socket on the WiFi router on the inside of the OB kit (black box with 2 antennas).
- Find the power plug inside the OB kit and connect that to the nearest power socket.
- Pull the ends of the two IEC cables (kettle leads) out of the OB kit and connect them to your video monitors.
- Connect the ends of the two DVI cables in the OB kit, to the video monitors.
- Ensure the red power switch at the top of the OB kit on the front is on, then the PC should turn on.
- Grab the keyboard and mouse from within the OB kit.
- Wait until the PC has logged itself in and opened OBS, then check you have an internet connection.
- In OBS, click on the "View" tab in the top left, then "Multi-view (Full-Screen)" and select the bottom option in the list that shows up (if the multiview opens on the wrong screen then repeat but choose the other option).
- Get the Streamdeck out from the OB kit, ensure it is plugged into the PC and hand it to the vision mixer.
- When the camera operators run an SDI cable over to you, plug it into one of the top 4 SDI ports on the back of the PC.
- When you're ready, press start streaming in OBS and let the MCR know.
